Hans Grohe Electronic 15180XX1 User Manual
Browse online or download User Manual for Sanitary ware Hans Grohe Electronic 15180XX1. Hans Grohe Electronic 15180XX1 User's Manual
- Page / 12
- Table of contents
- BOOKMARKS
Summary of Contents
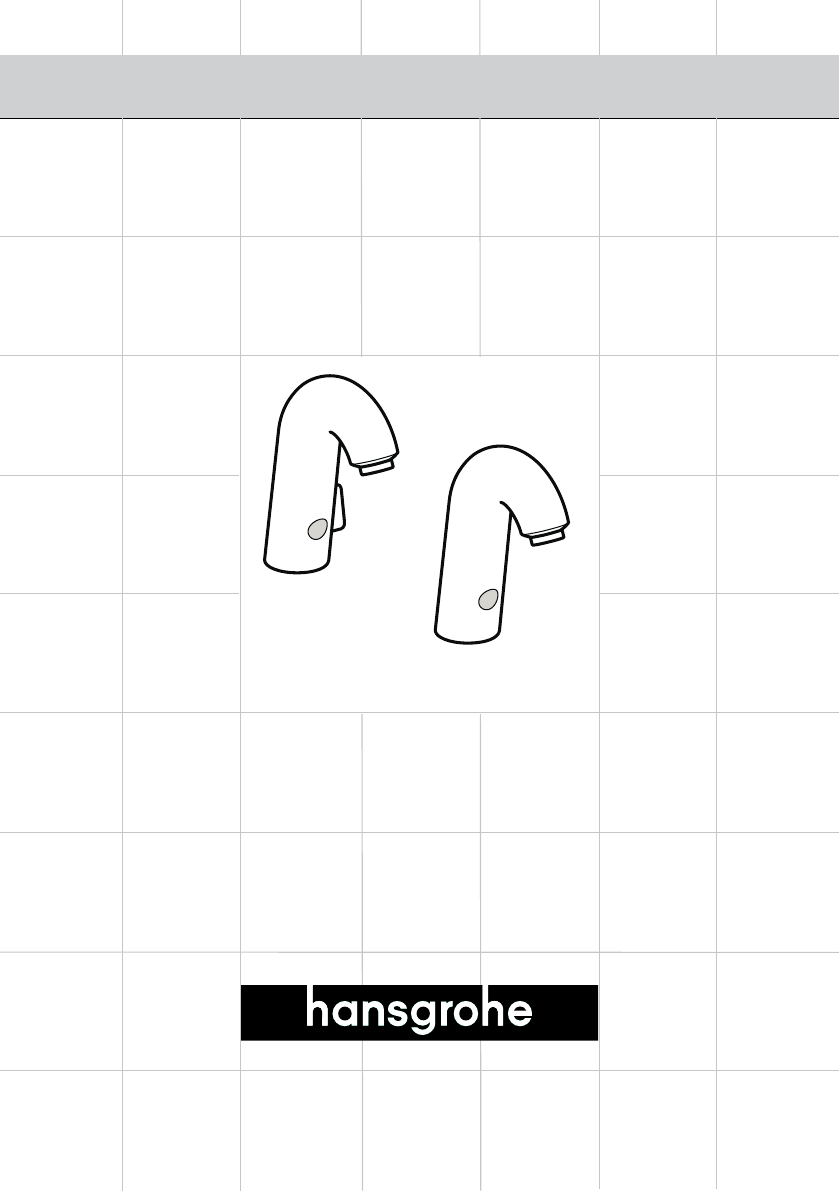
Electronic15181XX1Electronic15180XX1Installation Instructions / Warranty
10Cleaning Recommendation for Hansgrohe ProductsModern faucetry and shower products utilize a combination of materials to comply with the needs of the
11Limited Lifetime Consumer WarrantyThis product has been manufactured and tested to the highest quality standards by Hansgrohe, Inc. (“Ha
Hansgrohe, Inc. • 1490 Bluegrass Lakes Parkway • Alpharetta, GA 30004Tel. 770 360-9880 • Fax 770 360 9887www.hansgrohe-USA.comUS - Installation Instr
2Hansgrohe Electronic Lavatory Faucet with Temperature Control15180XX1Hansgrohe Electronic Lavatory Faucet15181XX116Caution: do not bend or twist the
3InstallationFlush the hot and cold supplies thoroughly before installing this faucet.Place the faucet in the hole in the mounting surface (1).From be
4Turn the water on to the faucet (1).Peel the protective film from the sensor (2).Wait 15 seconds, then put a hand in front of the sensor. The water
5Pull the faucet housing off (1).Use a screwdriver to set the water temperature (2). Turn the screw to the rear to make the water warmer, to the fron
6Faucet MaintenanceReset the faucet: Remove the set screw with a 2.5 mm Allen wrench.Block the sensor for 2 seconds.Wait 10 seconds (1), then replace
7Wait 15 seconds (3), then place a hand in front of the sensor (4). The water should turn on.Cleaning the filters and aeratorIf the flow of water is
8To clean the filters: Turn the water off at the stops (1).Disconnect the supply hoses from the adapters (2). Pull the filters out and clean them.
9Replacement Parts1 aerator 96788XXX2 solenoid valve 988540003 fixation set 978120004 connection hose 964050005 back flow preventor cartridge
Related products and manuals for Sanitary ware Hans Grohe Electronic 15180XX1
 (1 pages)
 (16 pages) (12 pages)
© 2020, manymanuals.com. All rights reserved. | 0.699 s |
 Manymanuals.com
 Manymanuals.de
 Manymanuals.fr
 Manymanuals.it
 Manymanuals.pl
 Manymanuals.cz
 Manymanuals.es
 Manymanuals-pt.com
Comments to this Manuals